I love kombucha and drink it every day. It is my go-to beverage when I fancy a fizzy soft drink or a beer but want to be healthy. However, it is not the cheapest drink, and some of them can be pasteurised or not brewed in a way that keeps all the benefits of fermented food.
If you do not know what kombucha is and what health benefits it offers, you can read my article BENEFITS OF KOMBUCHA, WHAT DOES SCIENCE SAY?
So, I have decided to make kombucha at home, and after brewing it for a while now, I want to share everything I know, all the mistakes I made and all the information I found on how to brew the best kombucha.
You will only need to read this article to become a home-brewed kombucha pro. Let’s start with the basics…..
What is kombucha made off?
You don’t need many things to make kombucha. You will probably need to buy or get a kombucha SCOBY with a starter tea and make the rest at home.
Kombucha ingredients
You only need five ingredients to make kombucha:
- Tea: Black or green tea is the best.
- Sugar: Regular organic white sugar is ideal.
- SCOBY: you can buy one or get a starter from a friend.
- Starter Tea: Pre-brewed kombucha, often sold with your SCOBY.
- Water: Ideally filtered water so it’s free from chlorine
Equipment
- Glass Jar: 3 litre or similar size
- Cloth Cover: Breathable cloth or coffee filter with a rubber band or string
- Glass Bottles with seals for second fermentation and storing the finished kombucha
- Measuring Cups and Spoons
- Pot or a Kettle to boil your tea
- A sieve for any impurities and newly formed SCOBY in bottles
HOW TO MAKE KOMBUCHA :
FIRST FERMENTATION
1. Prepare the Tea
Boil half of a litre of water. Use about 4-5 bags of tea (or 4-5 teaspoons of loose-leaf tea). Bring the water to a boil, add the tea, and let it steep for about 10 minutes.
2. Add Sugar
While the tea is hot, stir in 1 cup of sugar until fully dissolved. Sugar is essential as it feeds the SCOBY during fermentation, so make sure you add enough.
3. Cool the Tea
Allow the sweetened tea to cool, or add cold water till the brew is at room temperature. This step is crucial because adding SCOBY to hot tea can kill the beneficial bacteria and yeast.
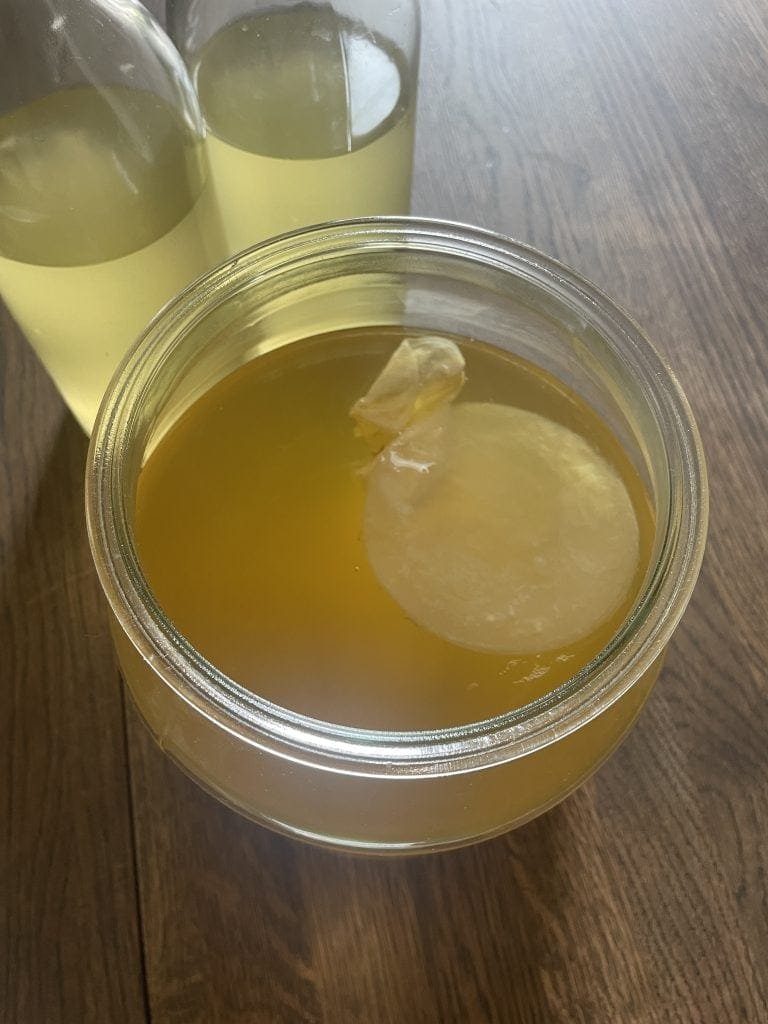
4. Add the SCOBY and Starter Tea
Once the tea has cooled, pour it into your brewing jar. Add SCOBY and 1-2 cups of starter tea ( it is normally included with SCOBY). The starter tea helps to acidify the mixture and prevents harmful bacteria.
5. Fermentation
Cover the jar with a cloth and secure it with a rubber band. Place the jar in a warm, dark place (ideally 68-85°F, 24-28 C) for 7-10 days. Taste your kombucha on day seven and continue fermenting until it reaches your desired flavour.
SECOND FERMENTATION
6. Bottling
Once your kombucha is ready, remove the SCOBY and reserve 1-2 cups as starter tea for your next batch. Pour the kombucha into bottles, leaving a little headspace at the top for it to start fizzing up.
7. Second Fermentation
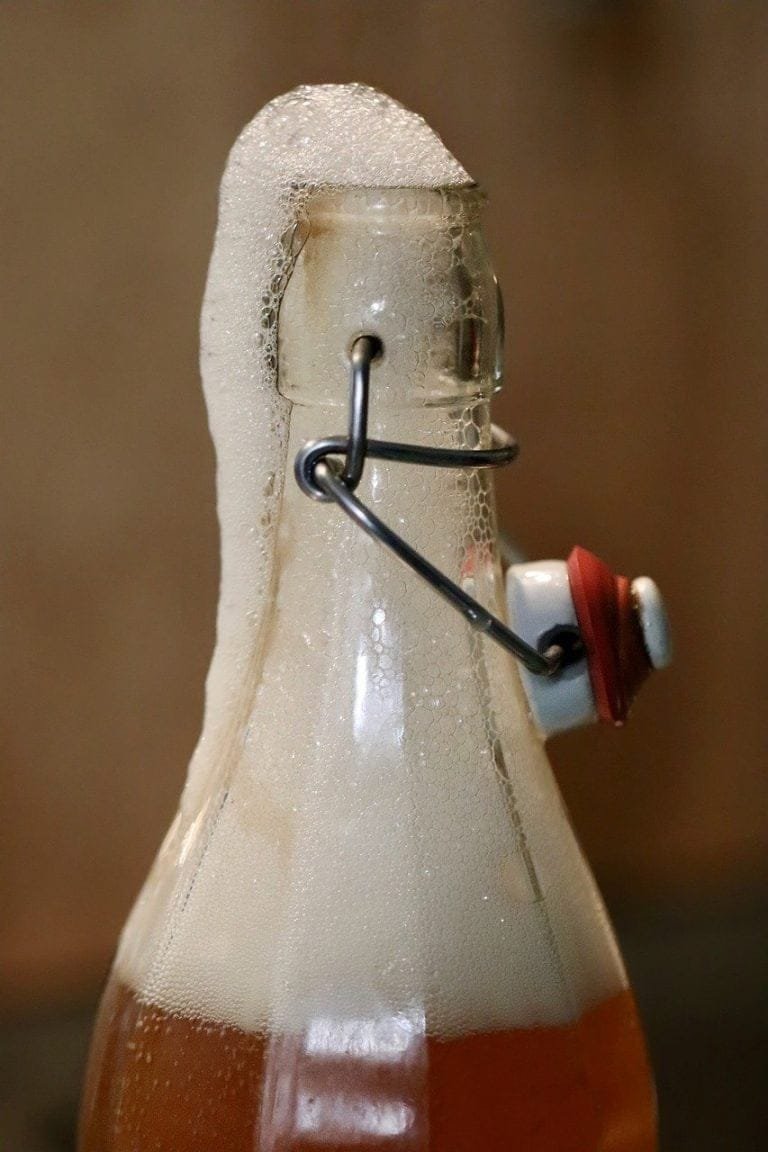
If you followed all the steps and are wondering how to make kombucha fizzy, this step makes it bubbly. You can let the bottled kombucha ferment for another 3-7 days at room temperature. Add flavours like fruit, ginger, or herbs before sealing the bottles tightly.
DO
Here is a list of DO’s when brewing kombucha.
First Fermentation:
- Use organic loose tea for better quality and more benefits
- Use filtered water if you can to avoid chlorine and other contaminants
- Keep your kombucha in a warm, dark, dry place
- Use the HP strip to see if your brew is ready
- Make sure bottles are closed tight for the second fermentation so the fizz does not escape.
- Cool the tea to room temperature before adding SCOBY. You can wait till the tea cools or just add more cold water.
- Monitor the temperature: Keep your brew at a consistent, warm temperature.
- Do taste regularly: Check the taste of your kombucha to determine when it’s ready.
Second Fermentation:
- Siwe kombucha after the second fermentation in bottles as a new SCOBY forms, and you don’t want to drink it.
- Do use clean equipment: Always sanitise your bottles to prevent contamination.
- Do experiment with flavours: Have fun with different tea blends and flavourings during
- Keep bottles in a warm place to ensure fermentation and fizz. Only add the bottles to the fridge when you are happy with the taste and fizziness.
DON’T
Now you know all do’s, here are some don’ts when brewing kombucha:
First Fermentation:
- Don’t keep your scoby in the fridge. It will not die, but it will slow down and become a bit sleepy. I kept my scoby in a fridge for a month, and the first fermentation took two weeks instead of one.
- Don’t use flavoured teas: Oils and flavours in some teas can damage the SCOBY.
- Don’t use metal containers: Metal can react with the acidic kombucha and harm the SCOBY.
- Don’t expose to direct sunlight: UV light can harm the SCOBY and affect fermentation.
- Don’t ignore mould: If you see mould on your SCOBY, discard it and start a new batch with a fresh SCOBY and starter tea.
Second Fermentation:
- Don’t use square bottles for the second fermentation, as they might explode.
- Don’t use melons and bananas for flavouring.
The best Kombucha Scobys
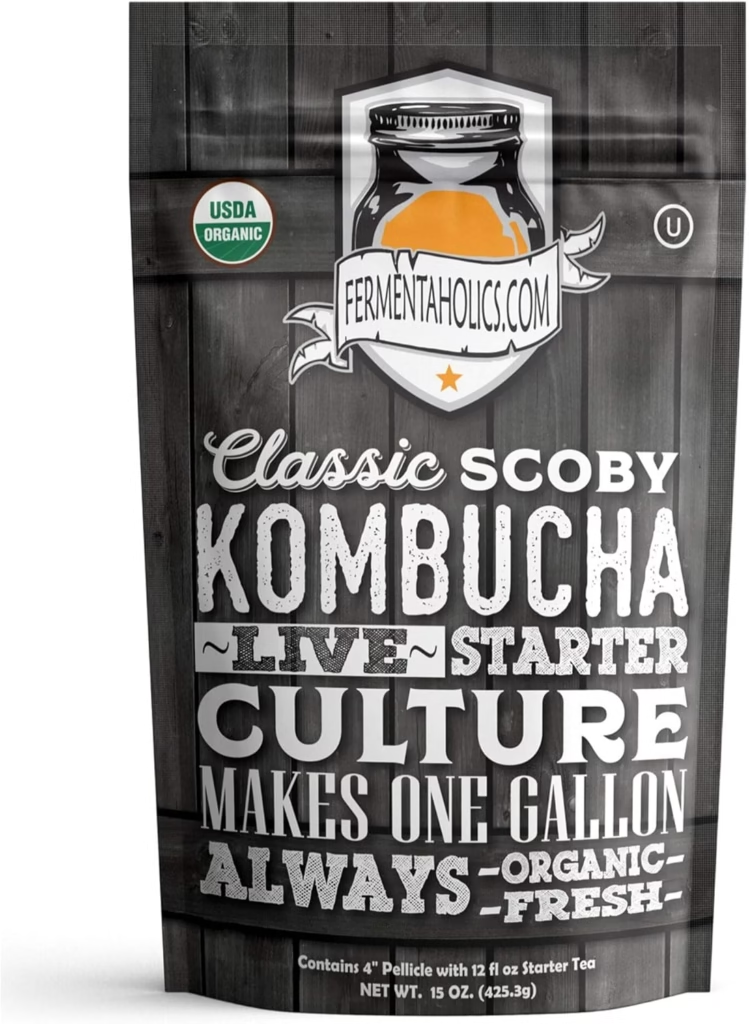
Fermentaholics ORGANIC Kombucha SCOBY 12 oz
USDA CERTIFIED organic and kosher scoby grown in a fully licensed lab.
It includes 1.5 cups of strong, mature liquid starter tea and a starter pellicle. This is the perfect amount to start your first gallon of kombucha at home.
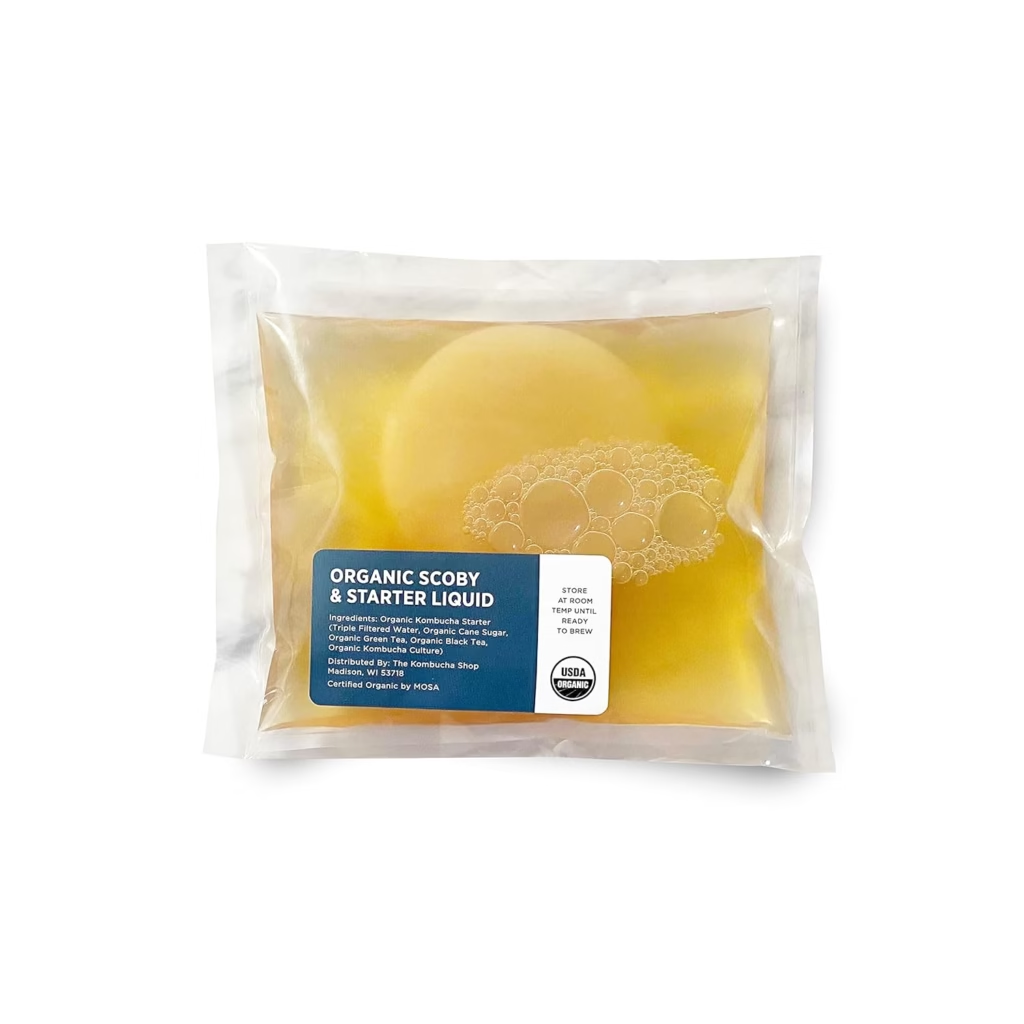
Urban Kitchen
Organic SCOBY Kombucha Starter Kit with Live Culture 8oz
Another great option kombucha starter with organic ingredients. It is slightly smaller
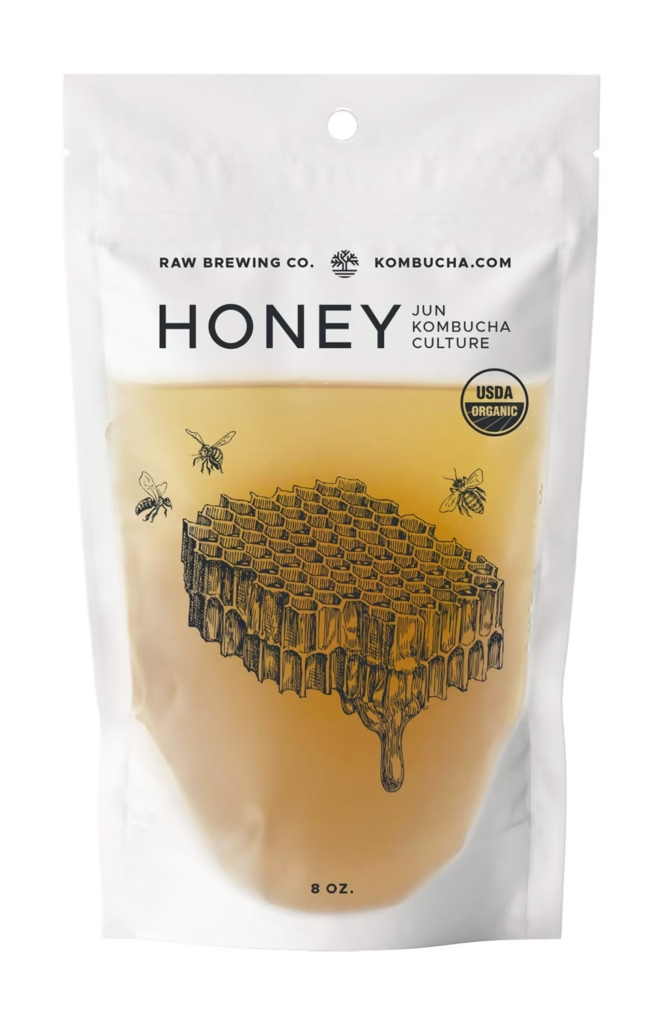
Kombucha.com Certified Organic JUN Kombucha Scoby (Honey) + SUPER STRONG starter liquid. 8 oz.
Amazing quality kombucha culture infused with honey, for those who want to experiment a bit with flavors.
The best Kombucha Starter Kits
You can start brewing Kombucha straight away if you have all the equipment needed at home, but if you would like to buy a full kit, there are some good options.
I would recommend to go for glass jars and bottles and avoid plastic.
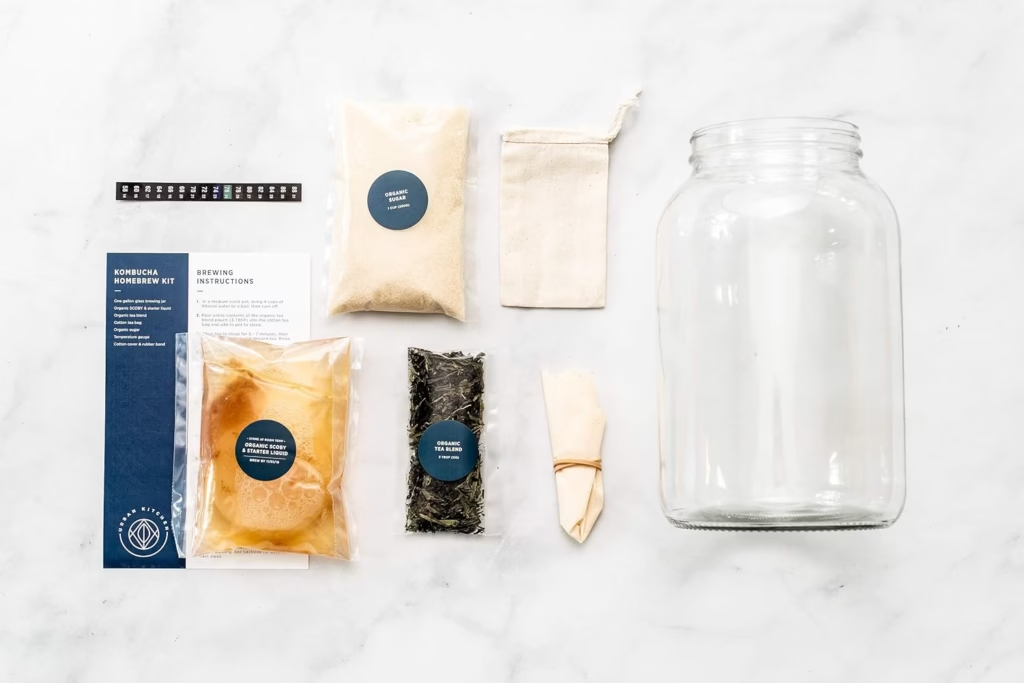
Kombucha Starter Kit – Organic Kombucha SCOBY & Strong Starter Liquid
Kit comes with organic SCOBY and starter liquid, 1 gallon glass brew jar, breathable brew jar cover, adhesive temperature gauge, organic tea blend, organic sugar, reusable tea bag, and easy-to-follow instructions.
You will need to source your own bottles for the second fermentation and storing.
Fermentaholics The Complete Kombucha Brewing Starter Kit
If you live in a cooler climate, brewing Kombucha might be a bit more tricky. This kombucha brewing set comes with a heat mat to help out the brewing process.
Fermentaholics is a great place to get anything you need for brewing and fermentation, so make sure to check out their store.

WHEN TO DRINK KOMBUCHA?
You can drink kombucha after the first 7-10 days. The longer you ferment it, the more sour it will be. Make sure you taste it every day to find the right balance. If you want your kombucha fizzy or add more flavours, drink after the second fermentation ( another 7 to 10 days).
WHAT DOES KOMBUCHA TASTE LIKE?
I would describe kombucha’s taste as a cross between a soft fizzy drink and a dry cider. The great thing about kombucha is that it has many flavours. Sometimes, it is a bit sweeter, and sometimes, it is way more sour. When brewing Kombucha, you can taste it every day and bottle it as soon as you like the taste. The longer you leave it, the more sour it will taste.
The taste also depends on the kind of tea and sugar you use, so make sure to experiment and find the combination you love.
When you bottle kombucha after the second fermentation, you can also experiment with taste and fizziness. You can then add different syrups, jams, or even fruit and herbs to make it taste better; the choices are limitless.
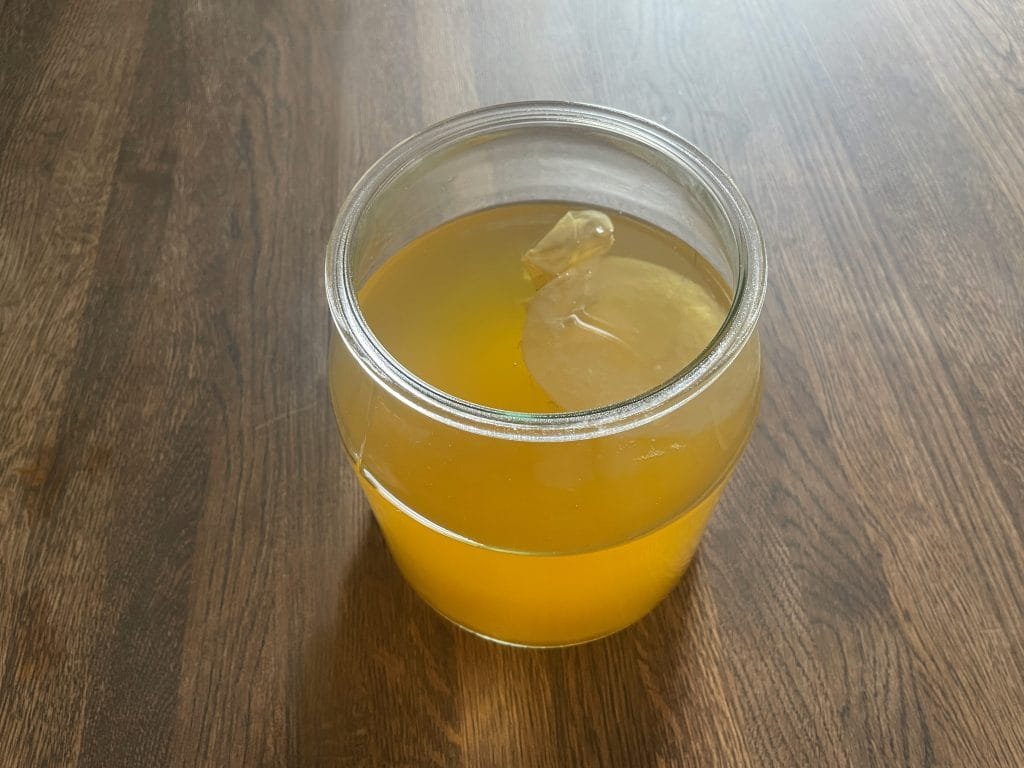
HOW TO MAKE KOMBUCHA SCOBY?
If you don’t want to buy kombucha SCOBY, you can make it yourself from a shop-bought kombucha. The principle is pretty much the same, just instead of SCOBY, you need to add a shop-bought kombucha to your tea mix and leave it for longer. You should start seeing SCOBY forming from around one week and should be able to harvest it after 4 weeks. The time can vary depending on the temperature and other conditions. When the SCOBY is around 6mm thick, it is ready to be used to brew its own kombucha.
I hope you found this article helpful. As I gain more experience in making kombucha, I will add information. Let me know if you have any questions in the comments, and I will try to answer them.
Silvija Meilunaite, PN1-NC, CSMC, is a certified nutrition coach and menopause coaching specialist writing from personal experience of perimenopause. She covers midlife health, hormone-supportive nutrition, and non-toxic living with a research-driven approach, helping women over 40 feel informed, strong, and healthy.